Abstract
In this article, we will explore the approval topic of the Event Broker. This allows you to plug in custom approval policies and even delegate approvals to external systems.
Approval policies in vRealize Automation allows administrators to insert gating rules into a provisioning workflow. Typically, approval policies work by notifying an approver through email allowing them to approve or reject a provisioning request by clicking on a link or by interacting with the vRealize Automation console. In this article, we will show you how to extend an approval policy by plugging in a custom workflow. Specifically, we will explore how to leverage ServiceNow to approve or reject a request.
Approval Policies in vRealize Automation
Approval policies offer a highly flexible method of adding gating rules to a provisioning workflow. Out of the box, approval policies can be conditional to force approvals only when a user exceeds a certain memory limit, for example. In fact, conditional approvals can be controlled by any aspect of a request, making them extremely flexible.
Also, the fact that approval policies are tied to catalog items through entitlements makes it very easy to have different policies depending on where you sit in an organization.
However, the most powerful feature around approvals that was added in vRealize Automation 7.0 is the ability to use the Event Broker to plug in external approval mechanisms. In previous versions, you were limited to manual approvals through emails. With the new Event Broker architecture, you can implement very advanced automatic approvals as well as delegating approvals to an external incident management system. The later is what we will focus on in this article.
Integrating with ServiceNow
Why did we pick ServiceNow for this example? For a number of reasons, actually. First, it has a developer program which allows you full access to test instances free of charge. Second, it’s very widely used. And third, it has a very straightforward API.
The goal
Our goal is very simple: Whenever a provisioning workflow in vRealize Automation needs an approval, we will call out to ServiceNow to make a request for approval, then block the provisioning workflow until the request is approved in ServiceNow. Also, we are going to supply some basic information about the request to ServiceNow the approver can base their decision on.
Using a Service Catalog Request
There are several ways we could do this. One is to create an incident in ServiceNow and wait for it to be resolved. In this article, however, we are going to use the approval mechanism built into ServiceNow and it seems a Service Catalog Request is better suited for that.
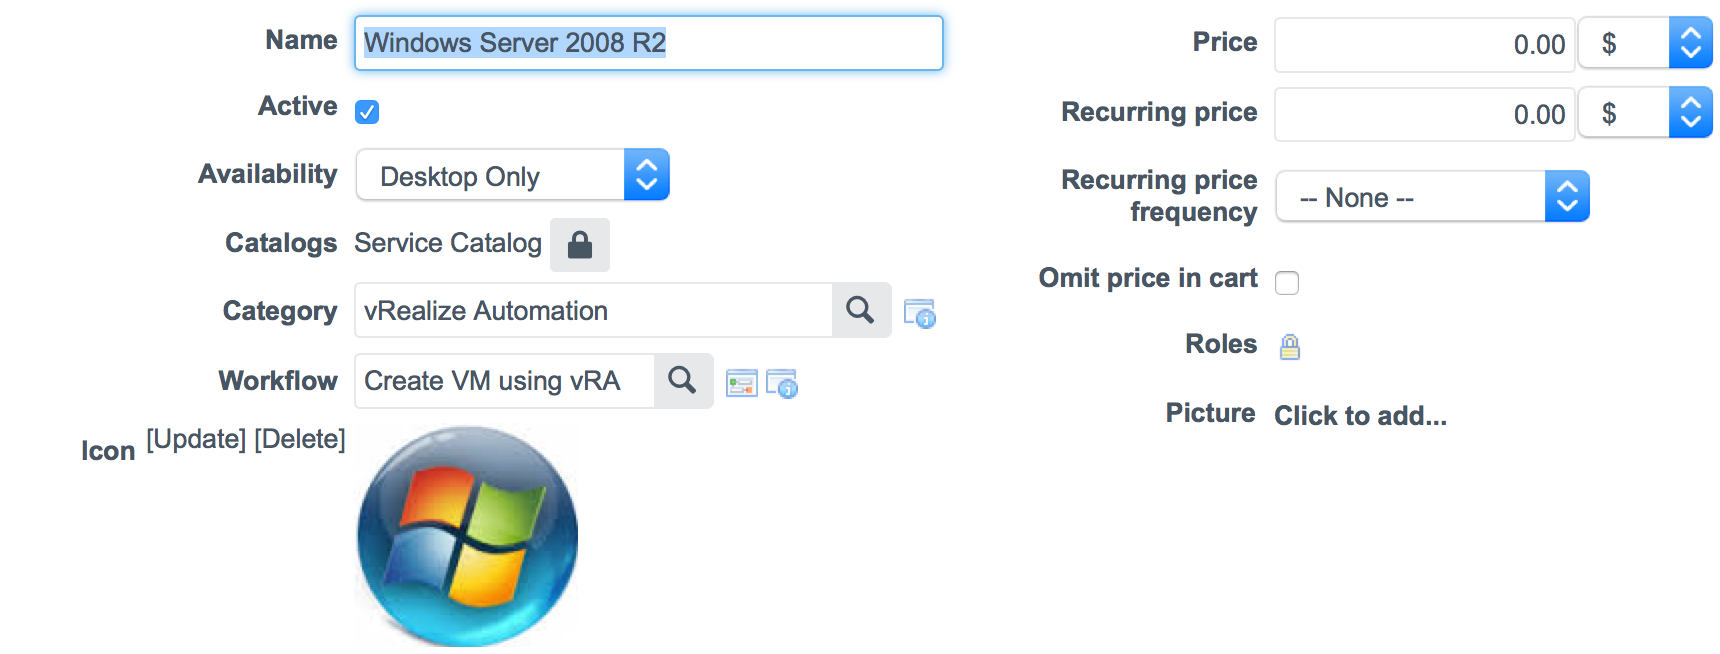
A Service Catalog Request is what ServiceNow uses to handle a user request for some service, be it a cellphone, a laptop or some service from human resources. These requests have an underlying workflow and an approval policy attached to them, making them suitable vehicles for approvals coming from vRealize Automation. In a real life scenario, we would have designed a form and a workflow in ServiceNow for this specific type of request, but in this example, we are just going to use the generic constructs.

Implementation
We implement this in three steps: First we build a workflow that can create a Service Catalog Request in ServiceNow and wait for it to be approved. Next, we create an event subscription based on that workflow and finally we link it to an approval policy. Let’s walk through the steps.
vRealize Orchestrator workflow
Let me start by pointing out that this is NOT the way you should be doing it in production. We create a Service Catalog Request in ServiceNow and then we check it once every minute to see if it has been approved. Since there may be hundreds of outstanding approvals in a production system, this approach is very inefficient and could generate massive amounts of calls to ServiceNow. A better solution would be to have ServiceNow push back an event to vRealize Orchestrator. This is doable, but beyond the scope for this article. We may address how to receive events from ServiceNow in an upcoming article.
This is what out vRealize Orchestrator workflow looks like:
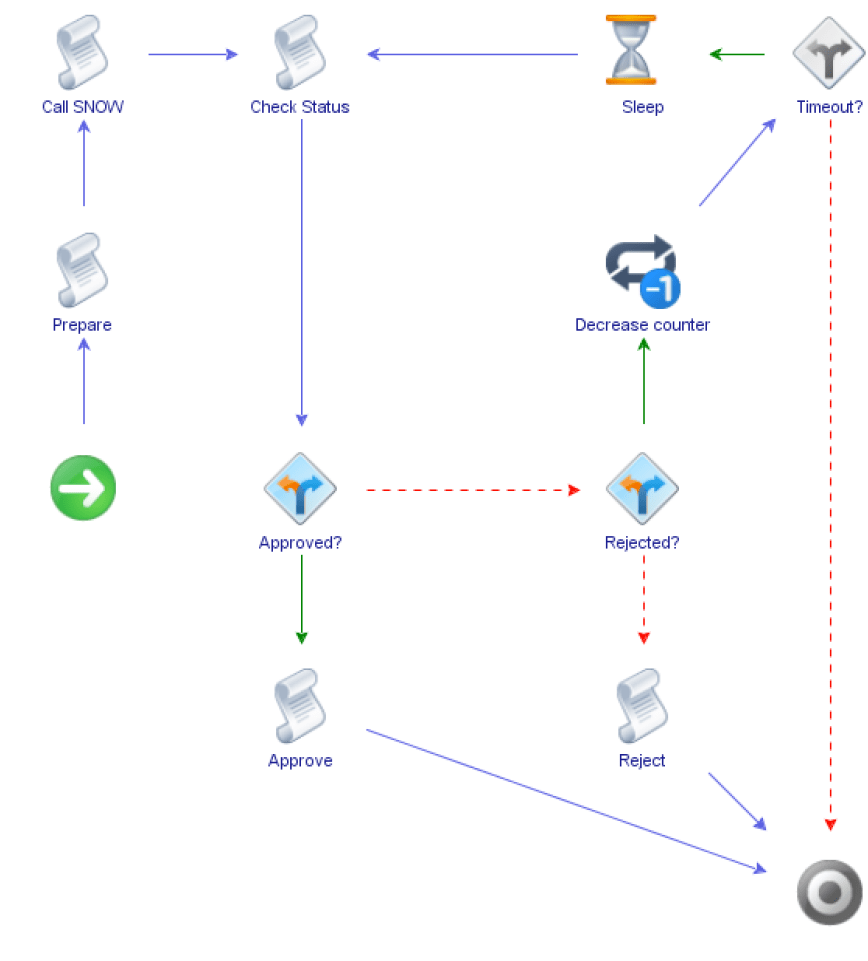
The workflow is relatively straightforward. First, we extract the parameters and do some other basic initializations. Next, we call ServiceNow to create a Service Catalog Request. After that, we enter a into a loop that checks the approval status of the request and exits with the appropriate return code once we’ve determined whether the request was approved or rejected. Keep in mind that we may spend days in this loop, which is why we need to find a better way of doing this in production (see upcoming article).
Inputs and outputs
An approval workflow takes four input parameters that are all of type Properties (a name-value pair map).
- fieldNames – The keys represent the name of the fields defined for this approval. The values represent the field types.
- fieldValue – The values of the fields specified in fieldNames.
- requestInfo – A map of request properties.
- sourceInfo – A map of properties from the source of the request (e.g. internal references to the request)
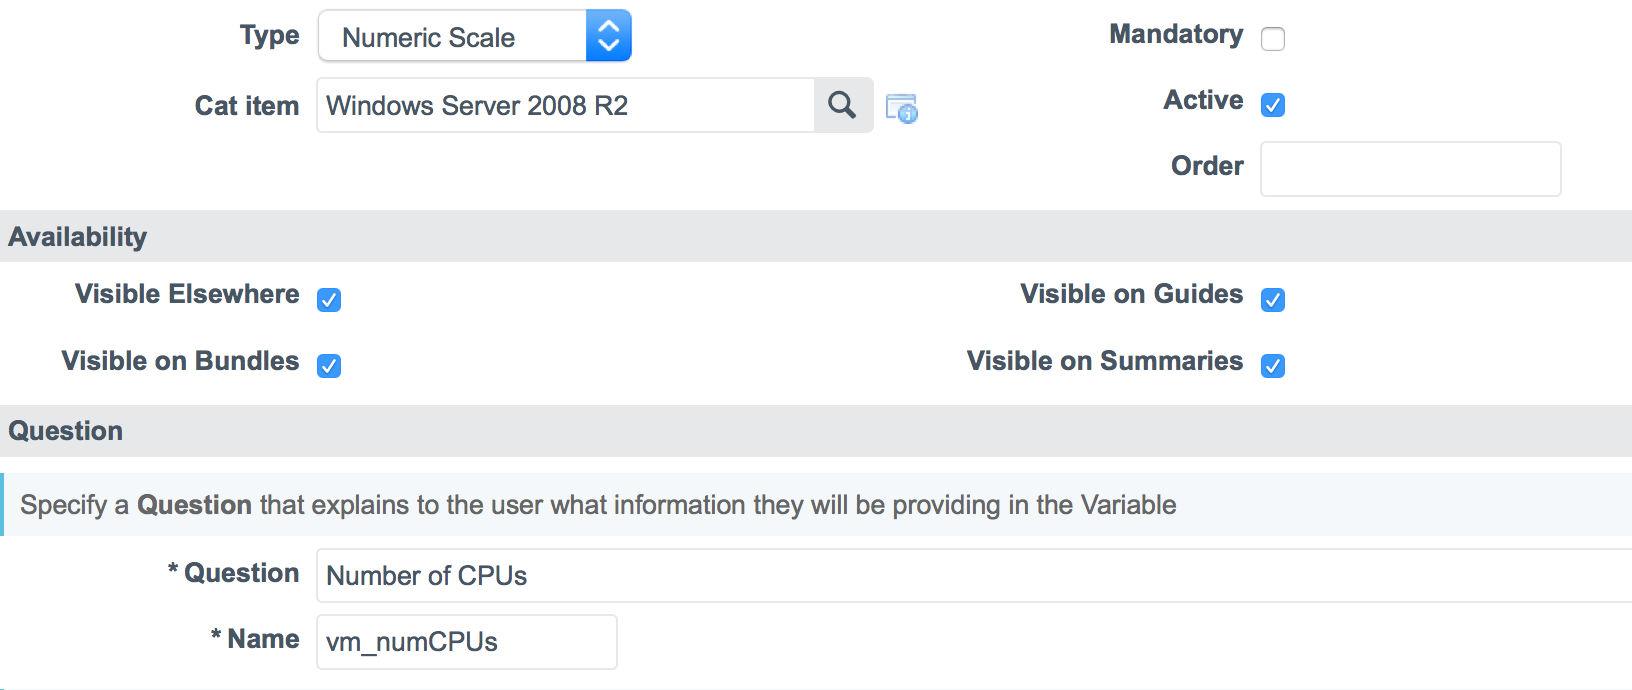
The contents of fieldNames and fieldValues are determined by the fields that are exposed by the approval policy. More about this later.
The fields map will always contain a field called businessJustification which can be changed by an approval workflow to send comments back to vRealize Automation. This is typically used to specify a reason for an approval or rejection.
Creating the Catalog Item Request in ServiceNow
Working with objects in ServiceNow is very straightforward. Every table in their data model has a REST interface for performing basic CRUD (Create/Read/Update/Delete) operations. All we have to do is to post a new request to the table. In a production implementation of this, we’d probably provide a bit more data, such as actual links to the requester and a link to the catalog item we’re requesting. But for a simple demo, this will do just fine.
var payload = {};
payload["short_description"] = shortDescription;
payload["description"] = longDescription;
payload["active"] = "true";
payload["price"] = "1001";
payload["special_instructions"] = "vRA-Request";
var rq = snowHost.createRequest("POST", "/api/now/table/sc_request",
     JSON.stringify(payload));
rq.contentType = "application/json";
rq.setHeader("accept", "application/json");
var response = rq.execute();
if(response.statusCode != 201)
    throw "ServiceNow error. Status code: " + response.statusCode + " details: "
        + response.contentAsString;
var json = JSON.parse(response.contentAsString);
incidentId = json.result.sys_id;
Let’s examine the code! First, we build a payload based on the description and short description. We’re also setting a bogus price for the item, which is there to bypass one of the default rules in the ServiceNow development instances that auto-approves anything that costs below $1000. We could (and should) have disabled that rule on the ServiceNow side, but the idea is that this should be able to run against an unmodified ServiceNow development instance. Again, this code is purely for demo purposes.
Next, we make the request itself, a POST to the sc_request table, which creates a new request for us. ServiceNow will return the created record and the very last line of the script picks up the ID of the request. We will use this in the next step as we check on the status for the request.
Checking the approval status in ServiceNow
Once we have a Service Catalog Request, we periodically check on the status of it. Again, this needs to be replaced by a push-based solution in a production scenario, but the current approach will work fine demo purposes.
var rq = snowHost.createRequest("GET", "/api/now/table/sc_request/" + incidentId,
     null);
rq.setHeader("accept", "application/json");
var response = rq.execute();
if(response.statusCode != 200)
     throw "ServiceNow error. Status code: " + response.statusCode +
     " details: " + response.contentAsString;
var json = JSON.parse(response.contentAsString);
approval = json.result.approval.toString();
All this script does is to check on the Service Catalog Request we just created in ServiceNow to see if it’s approved. The rest of the workflow just deals with sleeping between checks and keeping track of how many times we should do this before timing out.
Creating the subscription
Once we have the workflow in place, it’s time to register a subscription through the Event Broker. Doing so it pretty straightforward. As an administrator, we go to Administration->Events->Subscriptions and click on “New”.
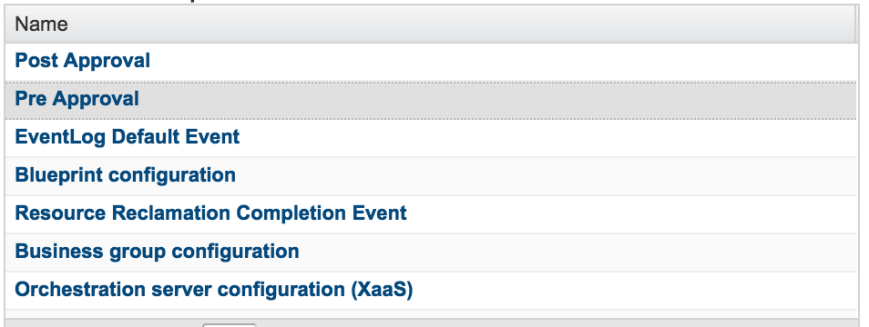
Select “Pre-Approval” and click “Next”. A pre-approval subscription is called before any provisioning activities take place. If we wanted to register an approval after provisioning is made, but before the provisioned asset is released to its user, we could use a “Post-Approval”.

Let’s run this for all events. If necessary, you can create filters here, for example applying the policy only to certain types of assets.
Click “Next”.
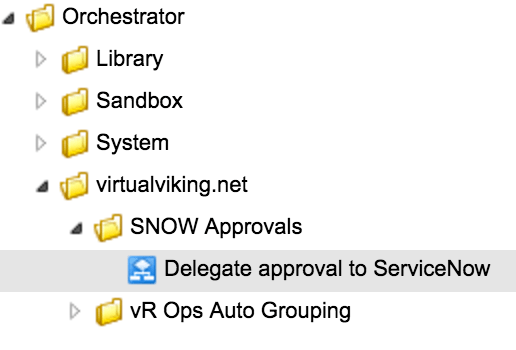
Select the “Delegate approval to ServiceNow” workflow. This is the vRO workflow we discussed earlier in the workflow.
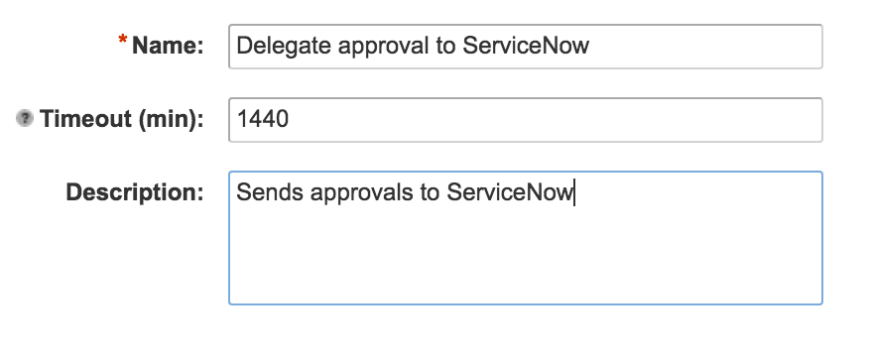
Optionally, change the name and give it a description. You can also assign a timeout on the subscription. In this case, we’re stating that if the request hasn’t been approved within 24 hours, we automatically cancel the request.
Click “Finish”.
We now have a subscription, but if you were to start deploying VMs you’d notice that our workflow is never called. That’s because we’re missing an Approval Policy, which is the final piece of this puzzle.
Creating an approval policy
An approval policy in vRealize Automation simply states when an approval is needed and how to handle it. It can also deal with approvals that require multiple steps and multiple roles. In this example, we’re going to walk through a simple approval policy that requires a single approval done through a call to ServiceNow.
To add an approval policy, log in as a tenant administrator and select Administration->Approval Policies.
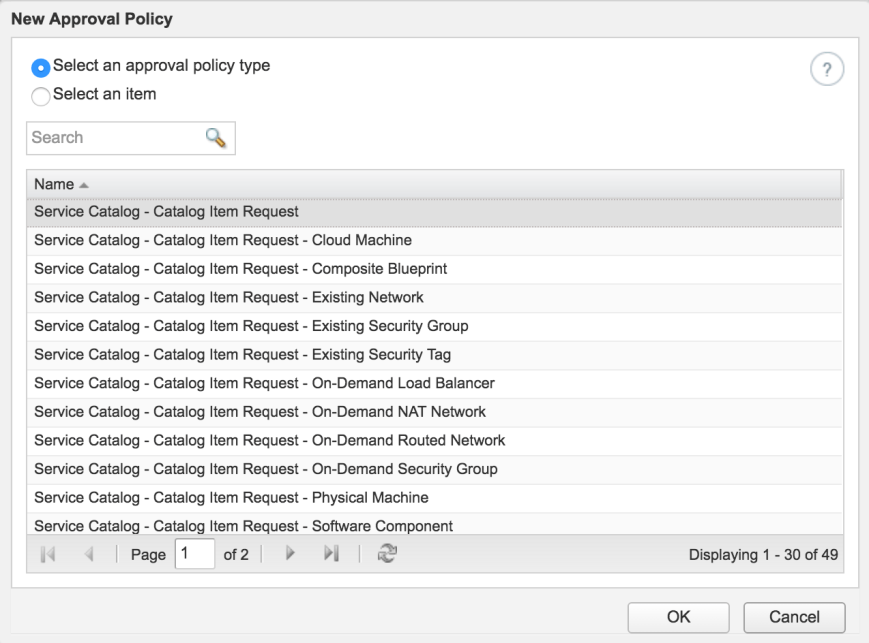
Select “Service Catalog – Catalog Item Request”. This makes the approval policy applicable to any request. If you want to narrow it down to a specific catalog item type, you can select that here.

Fill out name and description. Leave the policy as a draft for now.

Add a new approval level by clicking the plus sign next to “Levels”. Notice how you can have multiple levels that are executed in series or parallel.
Create a new level and give it a name. Select “Use event subscription” to make it run the pre-approval event subscription we created earlier. You may also enter conditions here if you don’t want the approval to be required for every request. In this example, we make the approval policy “Always required”.
Verify that everything looks OK, change the status of the policy to “Active” and click OK to save it.
Attaching the policy to an entitlement
Approvals are controlled by approval policies and entitlements. For an approval policy to be considered, it has to be attached to an entitlement. This gives you great flexibility when designing approvals. Not only can you define how the approval will behave, but you can also define within what scope of catalog items and users it will apply. For example, you can set up a rule saying “This service is available to all developers, but junior developers will have to obtain an approval by their manager first”.
In our case, we will just set it up to apply to all developers trying to deploy a certain type of VM.
To edit entitlements, log in as a tenant administrator and select Administration->Catalog Management->Entitlements. In our case, we will use an existing entitlement named “Developers” and add our approval policy to a certain service.

In this case, we are applying the approval policy to an entire service, which will cause it to be applied to every catalog item in that service. You may also attach the approval policy to an individual catalog item. Click the drop down next to the service and select “Modify Policy”.

Select the approval policy we just created. Click OK on the dialog box. Click OK on the entitlement form to save the entitlement.
Congratulations! You’ve just configured a custom approval policy that calls out to ServiceNow!
Testing the ServiceNow-based approval
Now that we’ve created and configured our custom approval, it’s time to test it. To do that, let’s just request one of the catalog items from the service we attached the approval policy to.
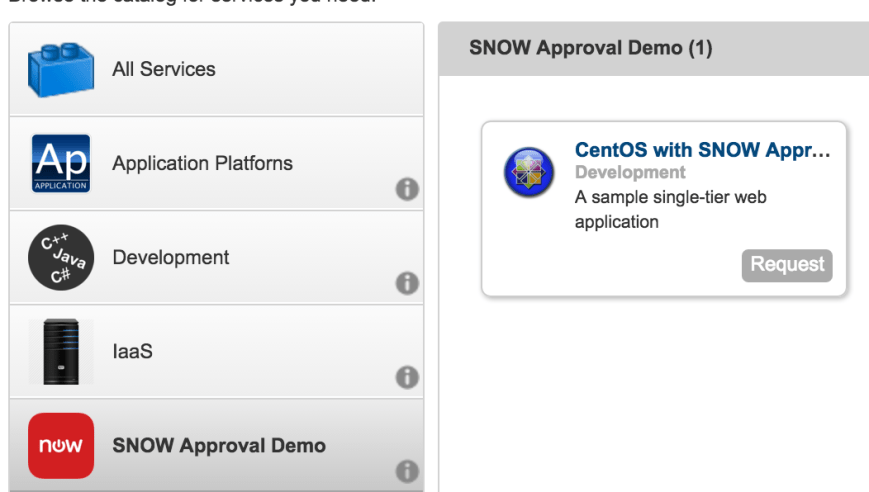
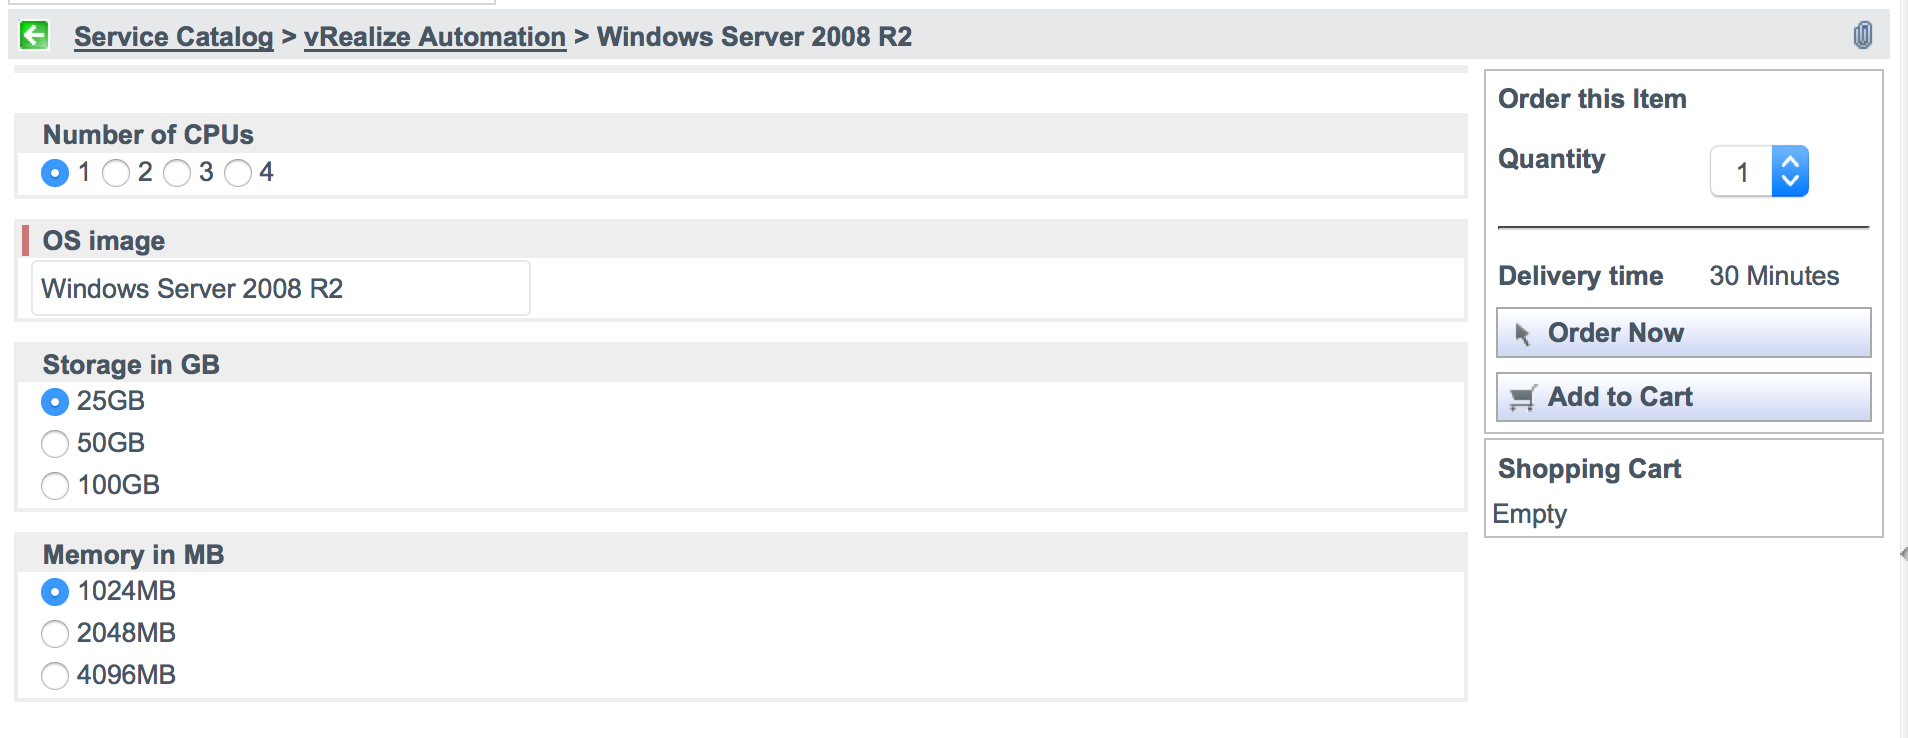
Request the catalog item and fill out any information needed. Add something for the description and reason for request, as these will be transferred to ServiceNow.

If we go to the “Requests” tab, we should now see the request getting stuck on the “Pending Approval” state. It will not be released until we’ve approved it in ServiceNow (or the 24 hour timeout we specified has elapsed).
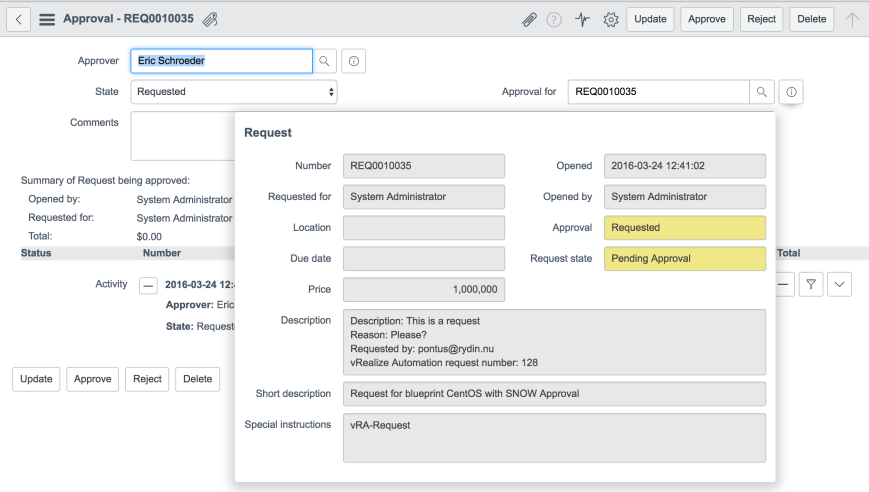
Let’s approve it by clicking the Approve button and wait for a minute or two for the vRealize Automation workflow to catch up.

As you can see, the provisioning process has resumed and our VM is well on its way to being created.
Conclusion
Although this example is not intended for production use, it serves to illustrate the flexibility of the Event Broker and approval engine, as well as the ease at which external components can be integrated into the lifecycle of a catalog item in vRealize Automation.
I am personally, as an engineer, extremely excited about the possibilities the Event Broker opens up and will continue to come up with interesting ways it can be used.
Downloadable content
vRealize Orchestrator Workflow