
Background
Today, ServiceNow has become something of a de-facto standard for self-service portals and ticket tracking systems. It is being used in virtually every industry and by all sizes of organizations. While vRealize Automation (vRA) offers its own self-service portal with a wide range of features, it is sometimes desirable to allow users to request virtual machines and other resources from a common ServiceNow portal, while carrying out the actual provisioning tasks using vRA. This combines the benefits of a single request portal with the power and governance of vRA.
This article describes how ServiceNow can be tied into vRA using a couple of simple workflows.
Direct vRealize Automation API vs. vRealize Orchestration
One of the first design decisions I had to make was how to expose vRA to ServiceNow. I could, of course, call the vRA API directly from ServiceNow. Another alternative would be to encapsulate the vRA API calls in a vRealize Orchestrator (vRO) workflow. I opted for the latter, since it makes the code ServiceNow a bit simpler and leverages the vRA Plugin in vRO.
Implementing the vRO workflow
To make the ServiceNow workflow simpler, I wanted to make a single vRO workflow that handled the entire provisioning process. This way, I only have to make one API call from ServiceNow. These are the basic steps the workflow needs to accomplish:
- Check parameters against blueprint, reject invalid parameters and fill in defaults for ones that are missing.
- Look up blueprint and request provisioning.
- Wait for completion and check outcome (success or failure).
To avoid having the code break due to small differences in the API, I used the vRA plugin to make all calls, rather than calling the APIs directly.
Here is what the workflow looks like:

The workflows us pretty straightforward and uses mostly pre-existing components. The “Prepare Properties” script is really the only code in the workflow. All it does it to examine which parameters were supplied and providing the blueprint defaults for the rest.
Calling vRO via REST
In order for ServiceNow to be able to make a call to vRO, we need to register a REST call. In vRO, the https://server:8281/vco/api/workflows endpoint gives you a list of workflows. If you know the UUID of a workflow, you can address it directly by doing a HTTP GET against the URL https://server:8281/vco/api/workflows/{UUID}. Since the UUID of a workflow is permanent and doesn’t change under any circumstances, we can safely just copy it from vRO and use it directly in the URL.
Under the workflow, there are several subsections of linked information, such as the executions of each workflow. We can check on previously started workflows by issuing a GET against the executions URL. Consequently, issuing a POST against the URL https://server:8281/vco/api/workflows/{UUID}/executions creates a new execution by running the specified workflow. Any parameters to the workflow can be send as a json document.
Successfully starting a workflow immediately returns the HTTP status code 202 (Accepted) and sets the Location header to an URL where we can check on the completion of the workflow. Note that the workflow has not finished running at this point. All we got was an acknowledgement that vRO has successfully started the workflow.
To check for the status of the workflow, we need to issue a GET against the URL returned in the “Location” header. That URL looks something like this: https://server:8281/vco/api/workflows/{UUID}/executions/{token} where “token” is a unique identifier for the workflow execution.
Defining the REST message in ServiceNow
Let’s put it all together!
First we need to specify the rest message. We’re including the workflow UUID in the URL. You can obtain the workflow UUID from the workflow properties page in vRO. Note that the ID is permanent and will remain the same even if the workflow is imported, exported and renamed, so it is safe to hard code it into the URL. You will probably have to specify a MID server, since your vRO instance is likely to be behind a firewall.

Next, we are going to focus on the POST message. Remember, if you POST to workflow executions, you start a new execution of the workflow. Note that there we accept for parameters: The name of the OS image (blueprint name), number of CPUs, memory and storage. We use these to construct a json message in the body. This will pass the parameters from ServiceNow to the vRO workflow.

Finally, we need to specify the GET message. This is fairly straightforward. All we need to do is to make sure we pass the execution ID at the end of the URL. This is done using the “token” variable.

Implementing the ServiceNow workflow
On the ServiceNow side, we need to create a workflow that carries out the provisioning action, i.e. calls vRO to activate the vRO workflow and the provisioning. Normally, you would most likely have approvals and other actions tied to the workflow, but in this example, we’re simply focusing on the provisioning part.
Here is our ServiceNow workflow.

Let’s walk through the steps:
- Run a script to send a request to vRO for starting the provisioning workflow. We’re pulling the parameters from the current item request and passing it as a REST call.
gs.log("image: " + current.variables.vm_os_image); gs.log("CPUs: " + current.variables.vm_numCPUs); gs.log("Memory: " + current.variables.vm_memoryMB); gs.log("Storage: " + current.variables.vm_storageGB); var r = new RESTMessage('Create VM in vRA', 'post'); r.setStringParameter('image', current.variables.vm_os_image); r.setStringParameter("numCPUs", current.variables.vm_numCPUs); r.setStringParameter("memoryMB", current.variables.vm_memoryMB); r.setStringParameter("storageGB", current.variables.vm_storageGB); // Send the request // var response = r.execute(); if(response == null) response = r.getResponse(30000); gs.log("Status: " + response.getStatusCode()); gs.log("Workflow token: " + response.getHeader("Location")); gs.log("Response: " + response); var location = response.getHeader("Location"); var arr = /.*executions\/(.*)\//.exec(location); workflow.scratchpad.vroToken = arr[1]; gs.log("Set vRO token to: " + workflow.scratchpad.vroToken); activity.result = response.getStatusCode(); - Send a HTTP GET to obtain the status of the workflow execution. Due to some quirks in the MID server, we need to check for the result twice. We’re parsing the return body and extracting the result code from vRO.
gs.log("vRO token is: " + workflow.scratchpad.vroToken);
var r = new RESTMessage('Create VM in vRA', 'get');
r.setStringParameter('token', workflow.scratchpad.vroToken);
var response = r.execute();
if(response == null)
    response = r.getResponse(30000);
var body = response.getBody();
gs.log("Response code: " + response.getStatusCode());
gs.log("Body: " + body);

// Parse return value
//
var parser = new JSONParser();
var jsonResult = parser.parse(body);
var status = jsonResult.state;
if(status == "failed")
    workflow.scratchpad.vraError = jsonResult.content_exception;
gs.log("Workflow status: " + status);
workflow.scratchpad.vraWorkflorStatus = status;
activity.result = status;
The final step: Creating a Catalog Item
Once we have the workflows created, it’s time to tie them into a Catalog Item. This is pretty straightforward. We have to make sure we call the workflow we just created and we need to define the variables used by the workflow. You’ll recall we’re using the variables vm_os_image, vm_numCPUs, vm_memoryMB and vm_storageGB.
This is what the catalog item looks like:
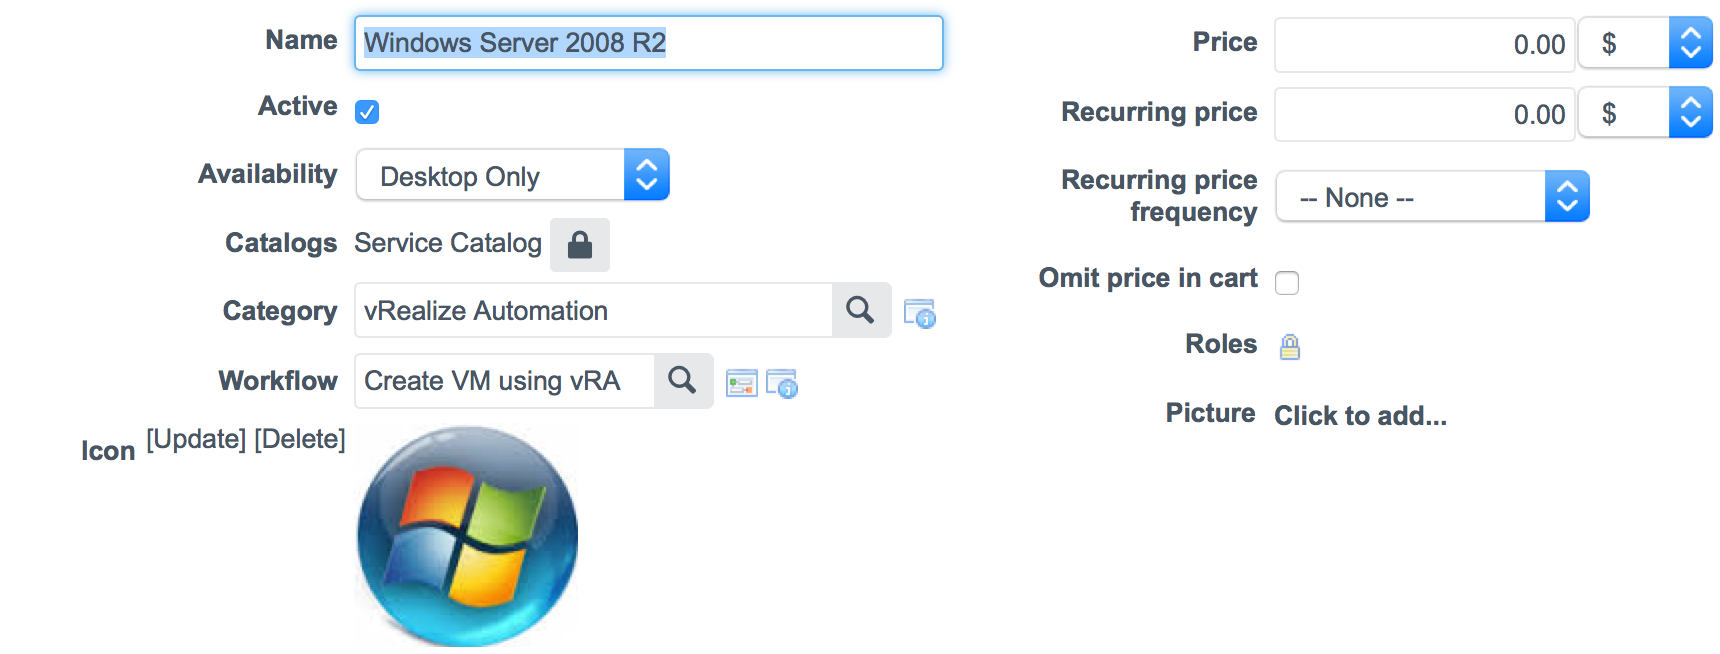
In this case, I chose to create a specific service for this OS image, but you could just as well create a generic one and have a drop-down for selecting the image. There’s a variety of input options you can choose between for the variables. I picked a numeric scale for the CPUs and multiple choices for the other parameters.

When specifying the variables, you should make sure they have the same name as what you’re using your workflow. This is what my definition of vm_numCPUs looks like, for example:
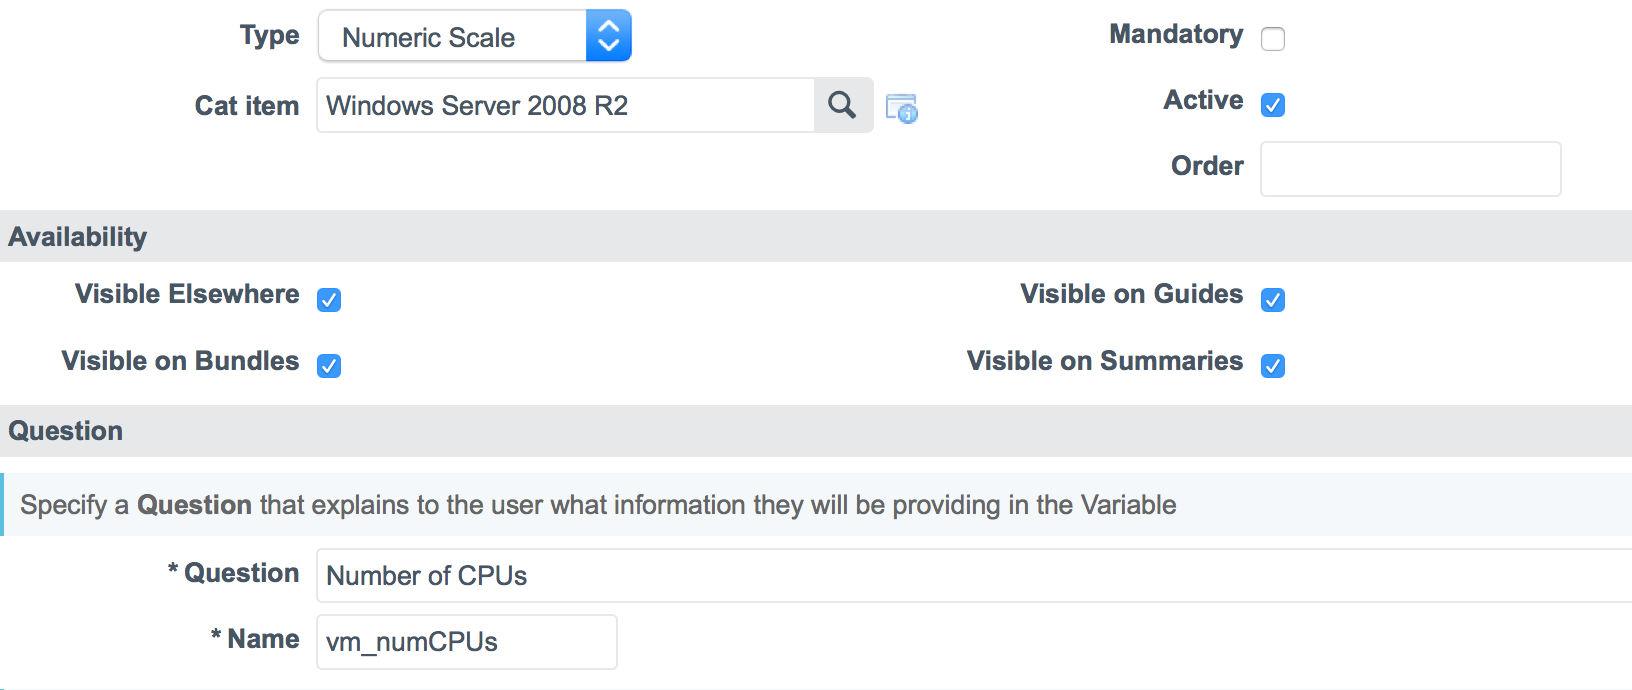
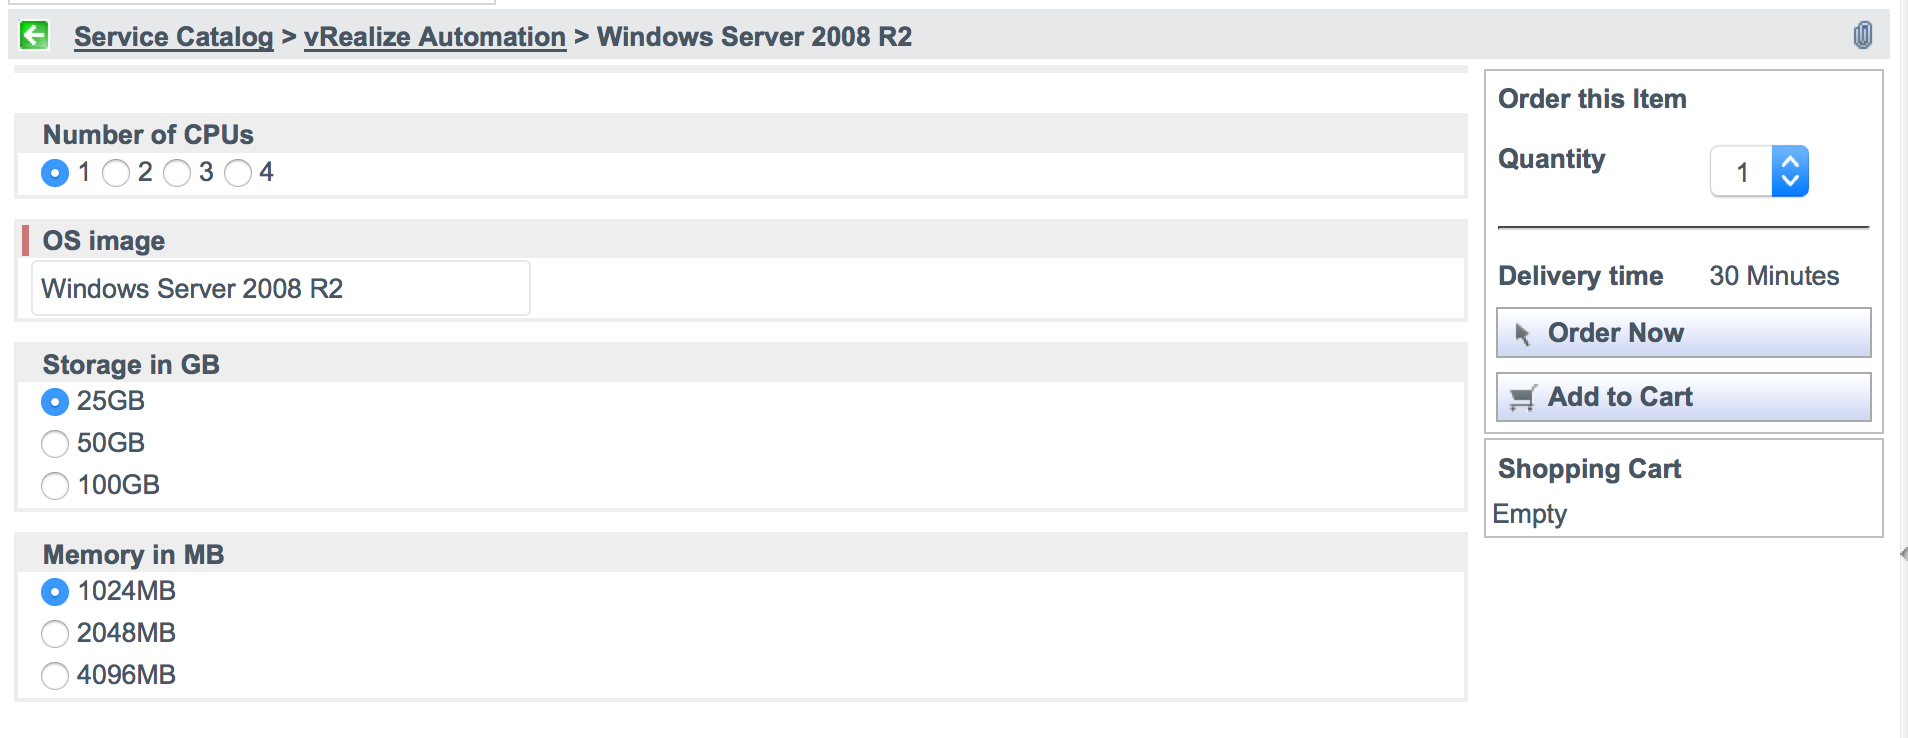
Finally, when we have everything defined, we should get a Catalog Item that looks something like this.
Downloads
Complete vCO Workflows: Click here!
